Sign Up for GitHub: One-Click with Google, or Fill the Form (with Device Verification)
Create a GitHub account step by step: the fastest way is one-click sign-up with your Google account, or you can fill in the email / password form manually. Both paths walk you through device email verification and onto your Dashboard. Many tutorials start by assuming a GitHub account — this one gets you past that first.
 卡住很正常——點段落旁的 😵 卡關 讓我們知道,或直接往下滾到問答區發問。
也可以用 👍 看懂 / 😢 看不懂 告訴我們哪裡寫得好、哪裡要改。
卡住很正常——點段落旁的 😵 卡關 讓我們知道,或直接往下滾到問答區發問。
也可以用 👍 看懂 / 😢 看不懂 告訴我們哪裡寫得好、哪裡要改。
In one line: Go to github.com and click Sign up. The fastest way is Continue with Google — one-click sign-up with your Google account; or fill in your email / password / username manually. Either way you’ll complete a device verification with a code from your inbox, and you’re in the GitHub dashboard.
Keywords: GitHub, sign up, Continue with Google, sign in with Google account, create account, Create your free account, Username, Device verification, verification code, Dashboard, account menu, Settings
Why do you need a GitHub account?
GitHub is the most widely used code-hosting platform in the world. On LaunchDock, the first step of many tutorials — deploying a site, wiring up a service, using the gh CLI, putting a project in the cloud — assumes you already have a GitHub account. This article clears that “prerequisite of prerequisites” once, so later tutorials can pick up right where this leaves off.
Signing up is completely free and takes about 5 minutes.
First, get to the GitHub site (both paths start here)
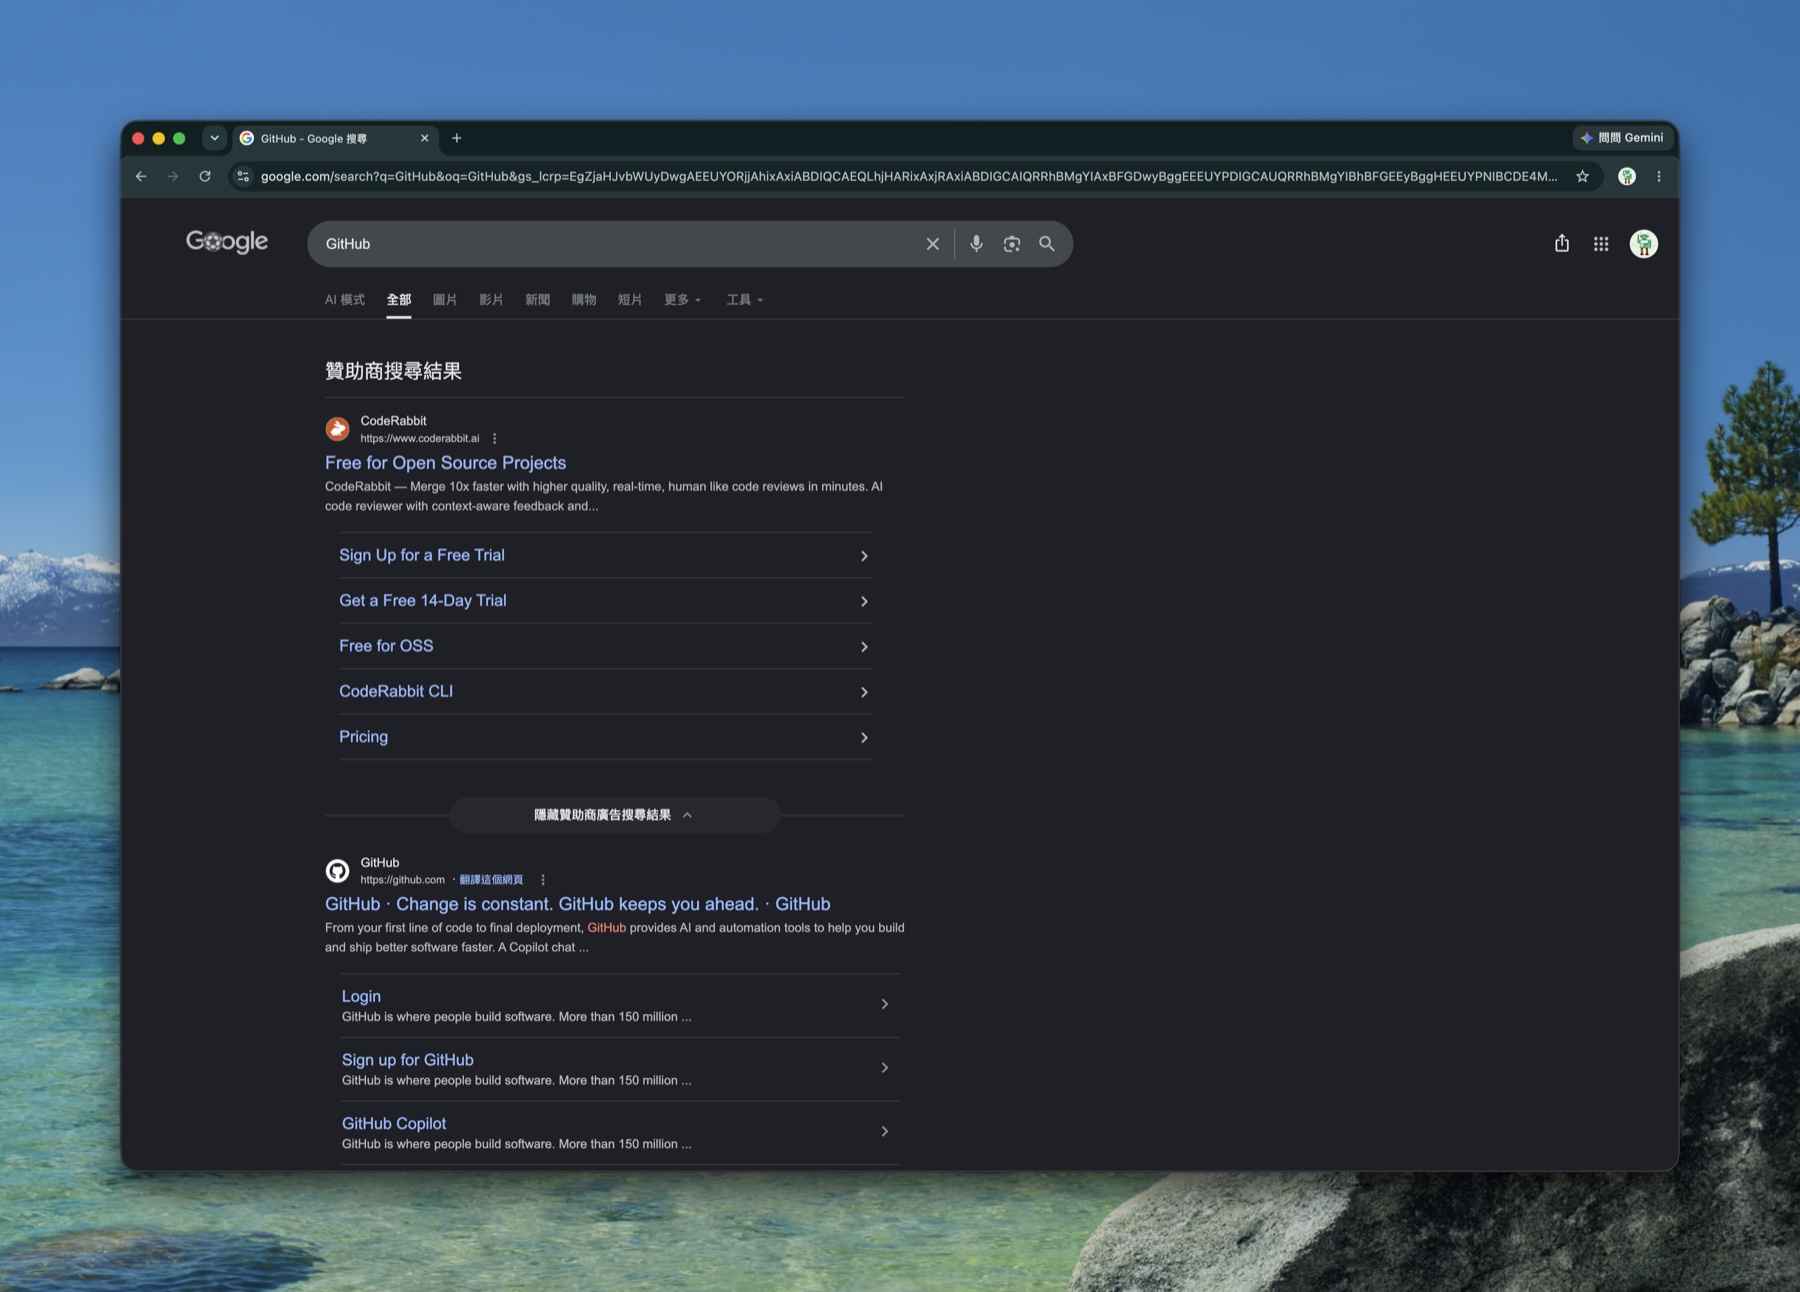
Search “GitHub” on Google and click the official result, github.com. Make sure the address is github.com — don’t click a “Sponsored” ad above it.
Go to github.com. The top-right has Sign in and Sign up. On your first visit, click Sign up.
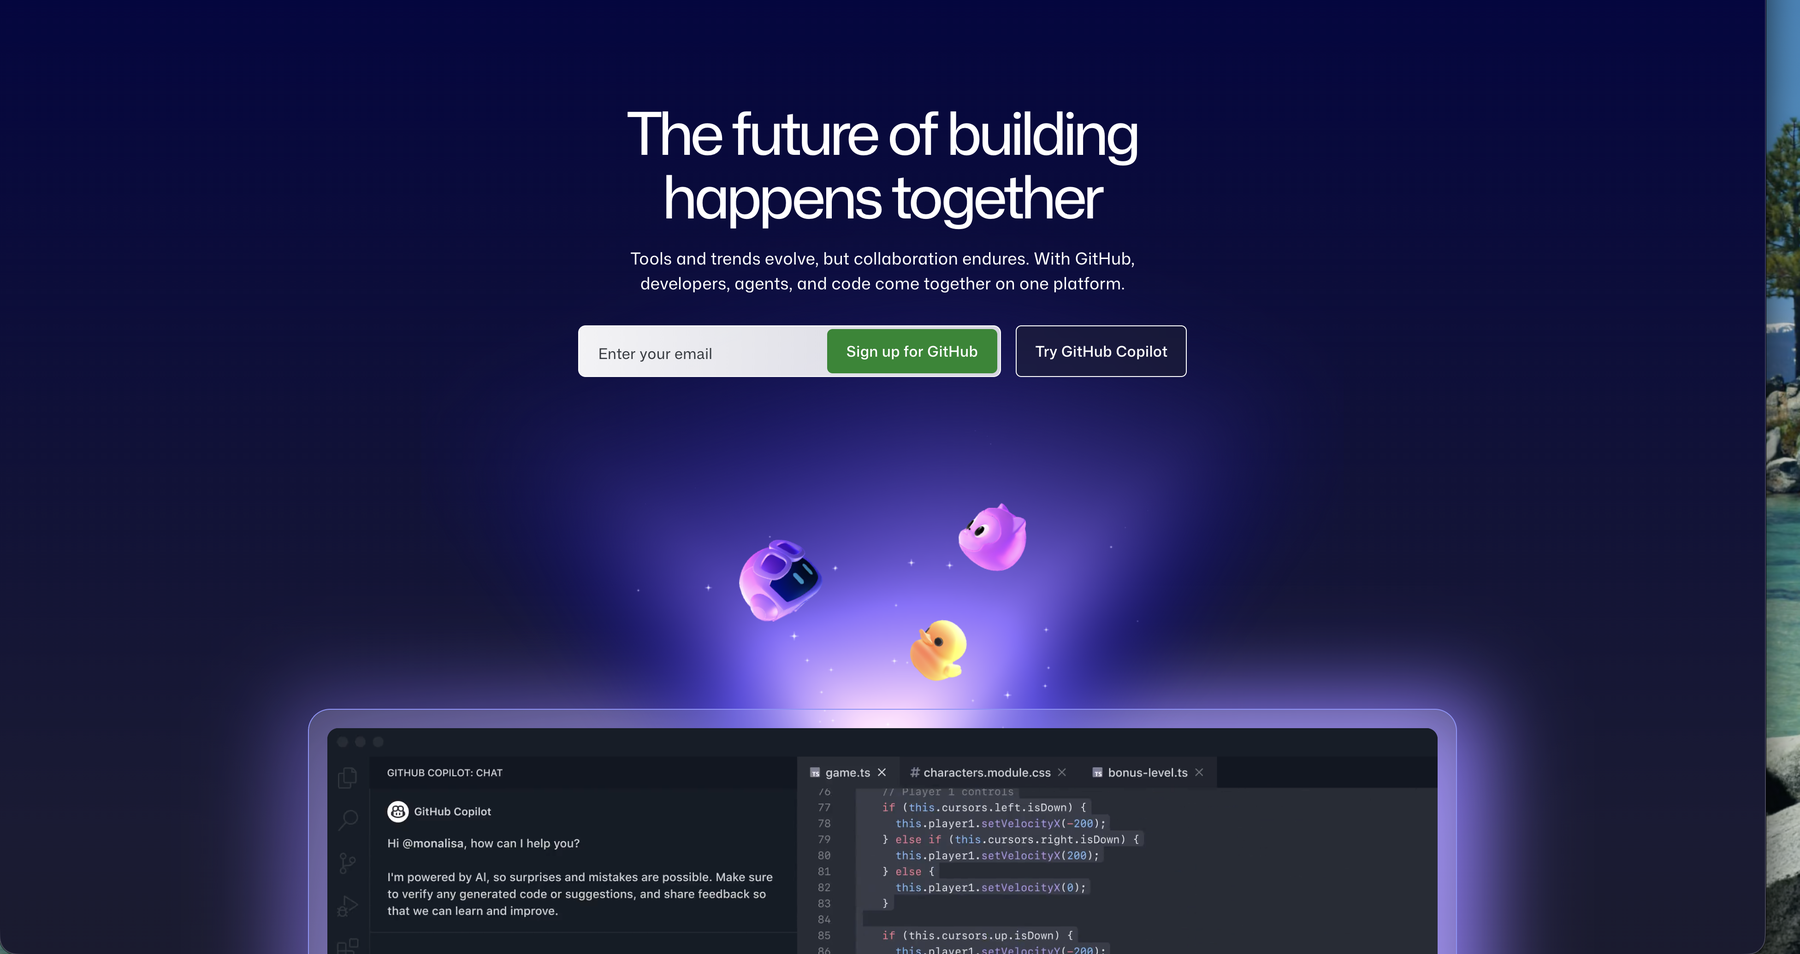
From here there are two paths — pick one:
- Path A (recommended): sign up one-click with Google — no separate password, just a couple of authorization clicks.
- Path B: fill in the email / password / username form manually.
Path A (recommended): one-click sign-up with Google
If you have a Google (Gmail) account, this is the fastest route.
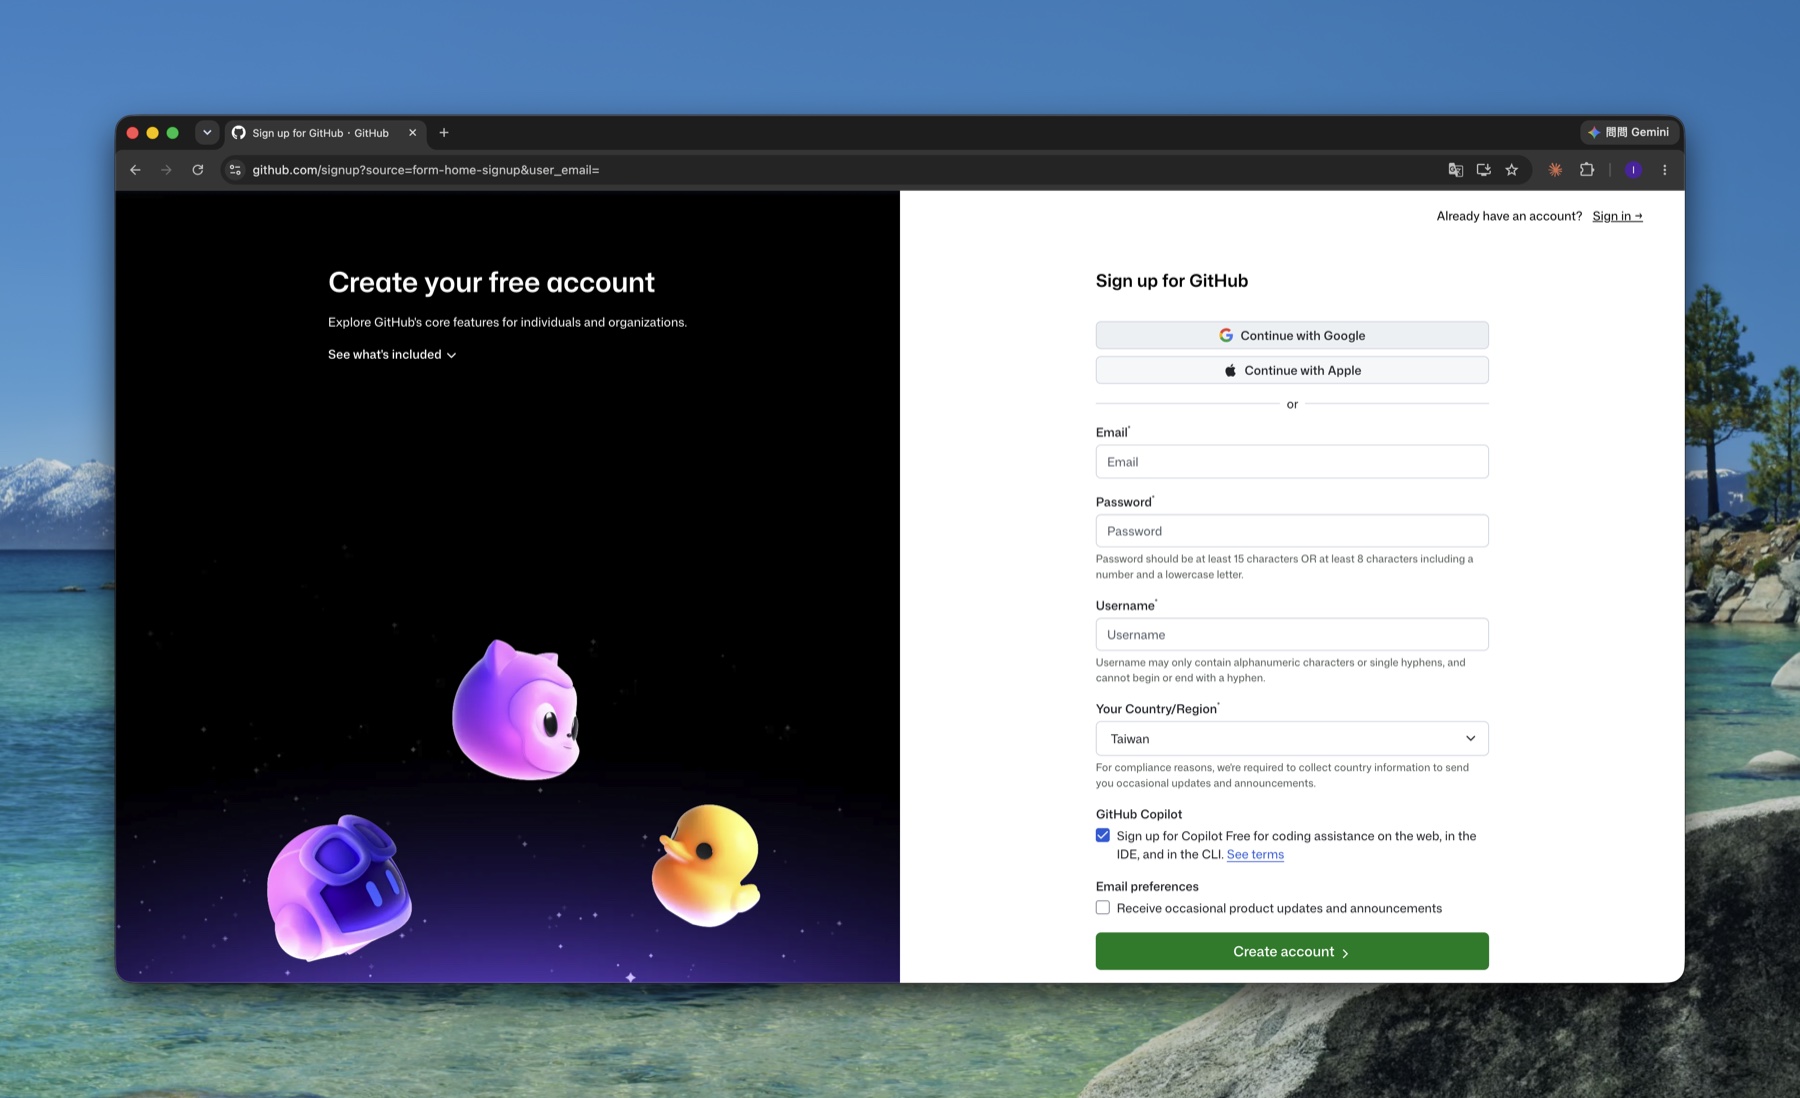
A-1: On the sign-up page, click “Continue with Google”
The GitHub sign-up page (Create your free account) has Continue with Google (and Continue with Apple) right at the top. Click it and skip the whole row of fields below.
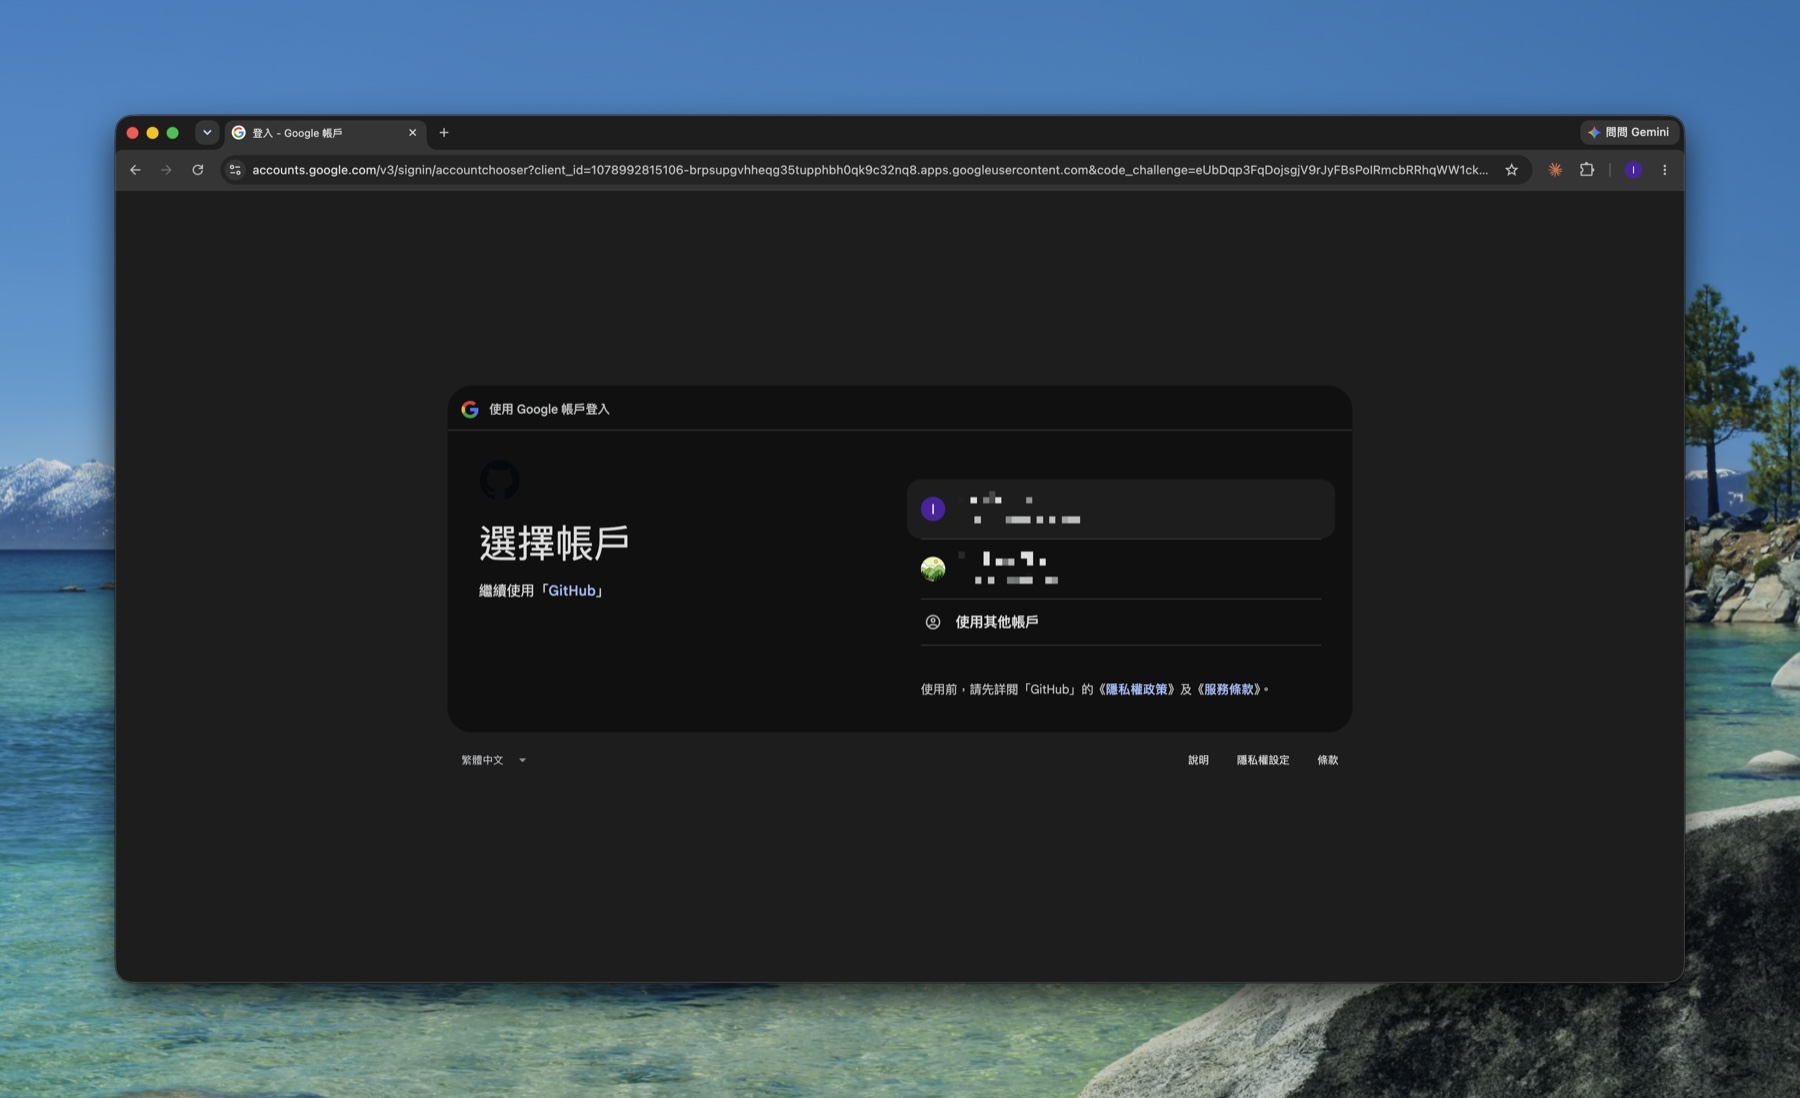
A-2: Choose your Google account
You’re taken to Google’s Choose an account screen. Click the Google account you want to use for GitHub. If it isn’t listed, click “Use another account” to sign in.
A-3: Authorize GitHub to access your basic info
Google lists what GitHub will receive — your name, profile picture, and email. This is the standard social-login consent; confirm it’s really GitHub, then click Continue.
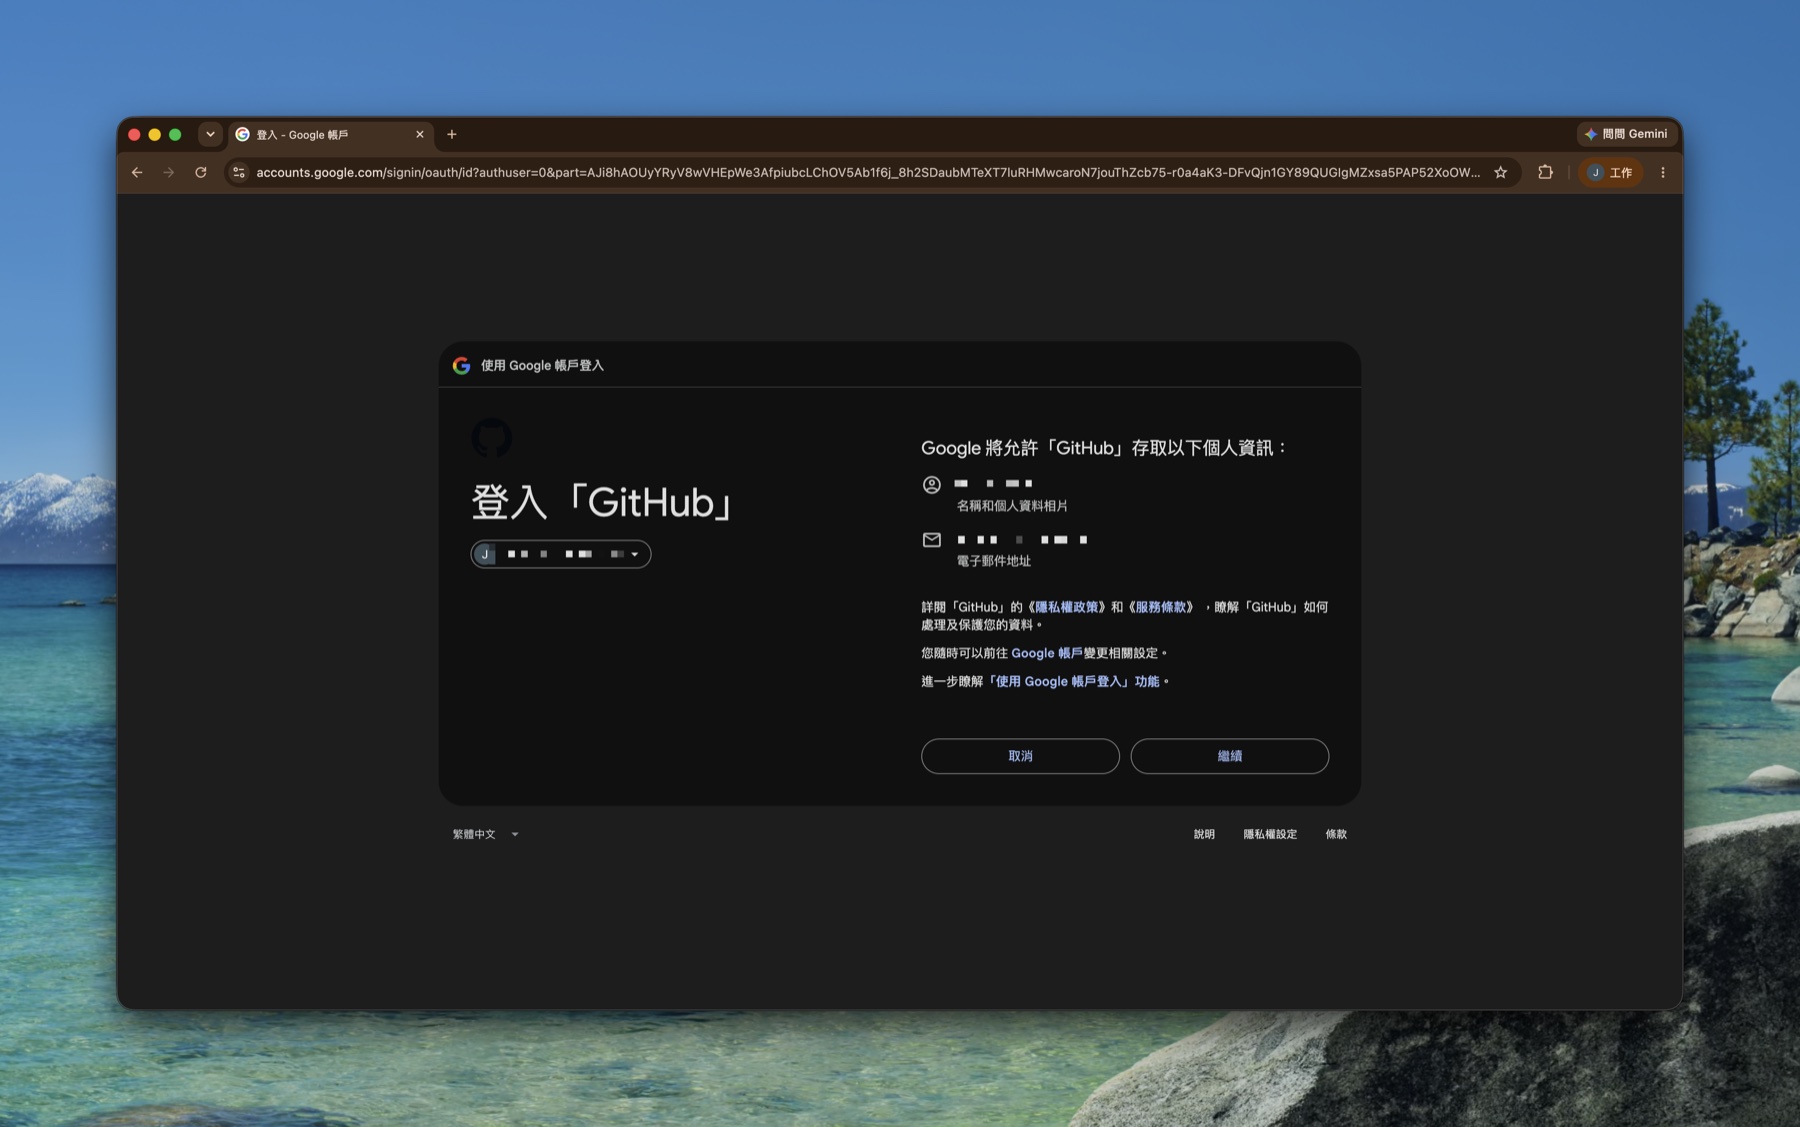
💡 “Sign in with Google” just lets Google vouch for who you are — GitHub never receives your Google password. Afterward you can log in with one Google click, and you can still set a separate password in GitHub settings.
After you authorize, GitHub usually still runs a device email verification (next section); once that’s done you land straight on the Dashboard — you can skip “Path B” and read on below.
Path B: sign up with the email form
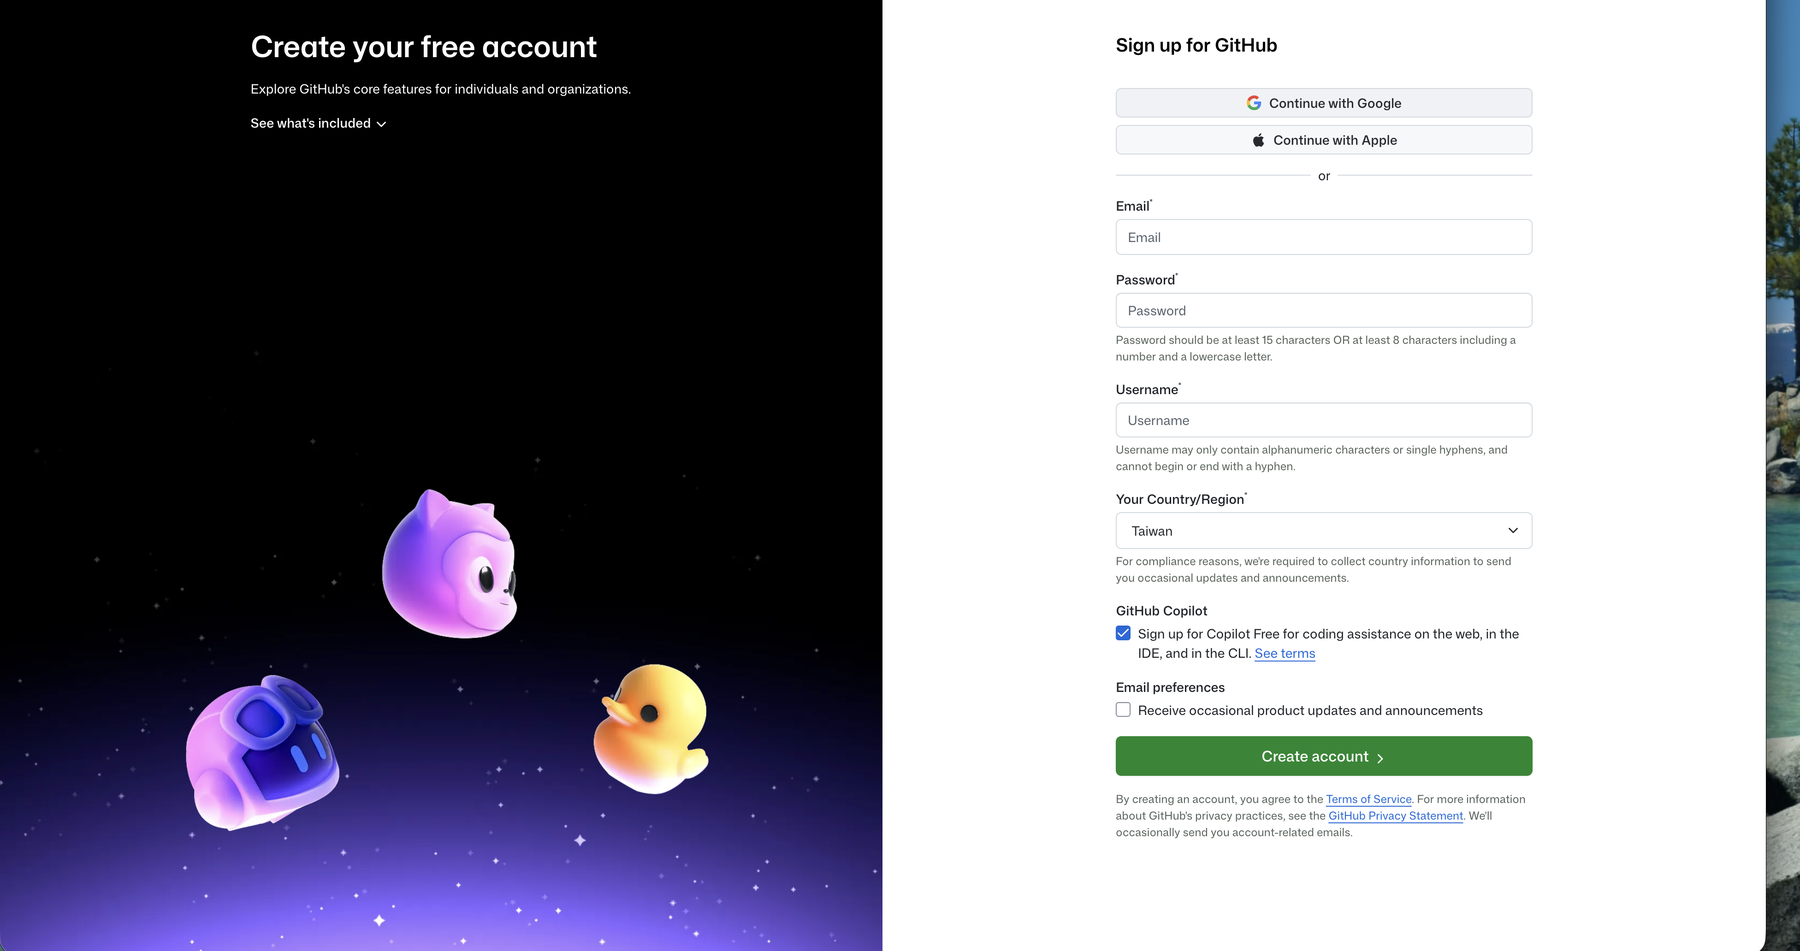
Don’t want to use Google? On the Create your free account page, fill in:
- Email: an inbox you check (you’ll receive a verification code here).
- Password: at least 15 characters, or 8+ characters that include a number and a lowercase letter.
- Username: your public handle, unique across GitHub — it appears in your URL
github.com/your-name. - Your Country/Region: where you are (Taiwan in this example).
When done, click Create account.
🚨 Username says “already taken”
GitHub usernames are globally unique, and common names are nearly all gone. Adding a number, an underscore, or a project suffix (e.g. yourname-dev) usually works. This name shows up in the URL of every repo you create, so pick one you’re happy to keep long-term.
Finish sign-up: device email verification (both paths)
To confirm it’s really you, GitHub emails a verification code to your address (the same Gmail if you signed up with Google). Open your inbox, copy the code, paste it into the Device Verification Code field, and click Verify.

🚨 No verification email?
- Check spam / the Promotions tab first: the sender is
noreply@github.com, subject like “[GitHub] Please verify your device.” - Wait 1–2 minutes: the email is occasionally delayed.
- Still nothing → there’s a Re-send the authentication code link near the bottom of the page.
- The code expires (the page shows the expiry time) — if it lapses, request a fresh one rather than reusing the old code.
Land on your GitHub Dashboard
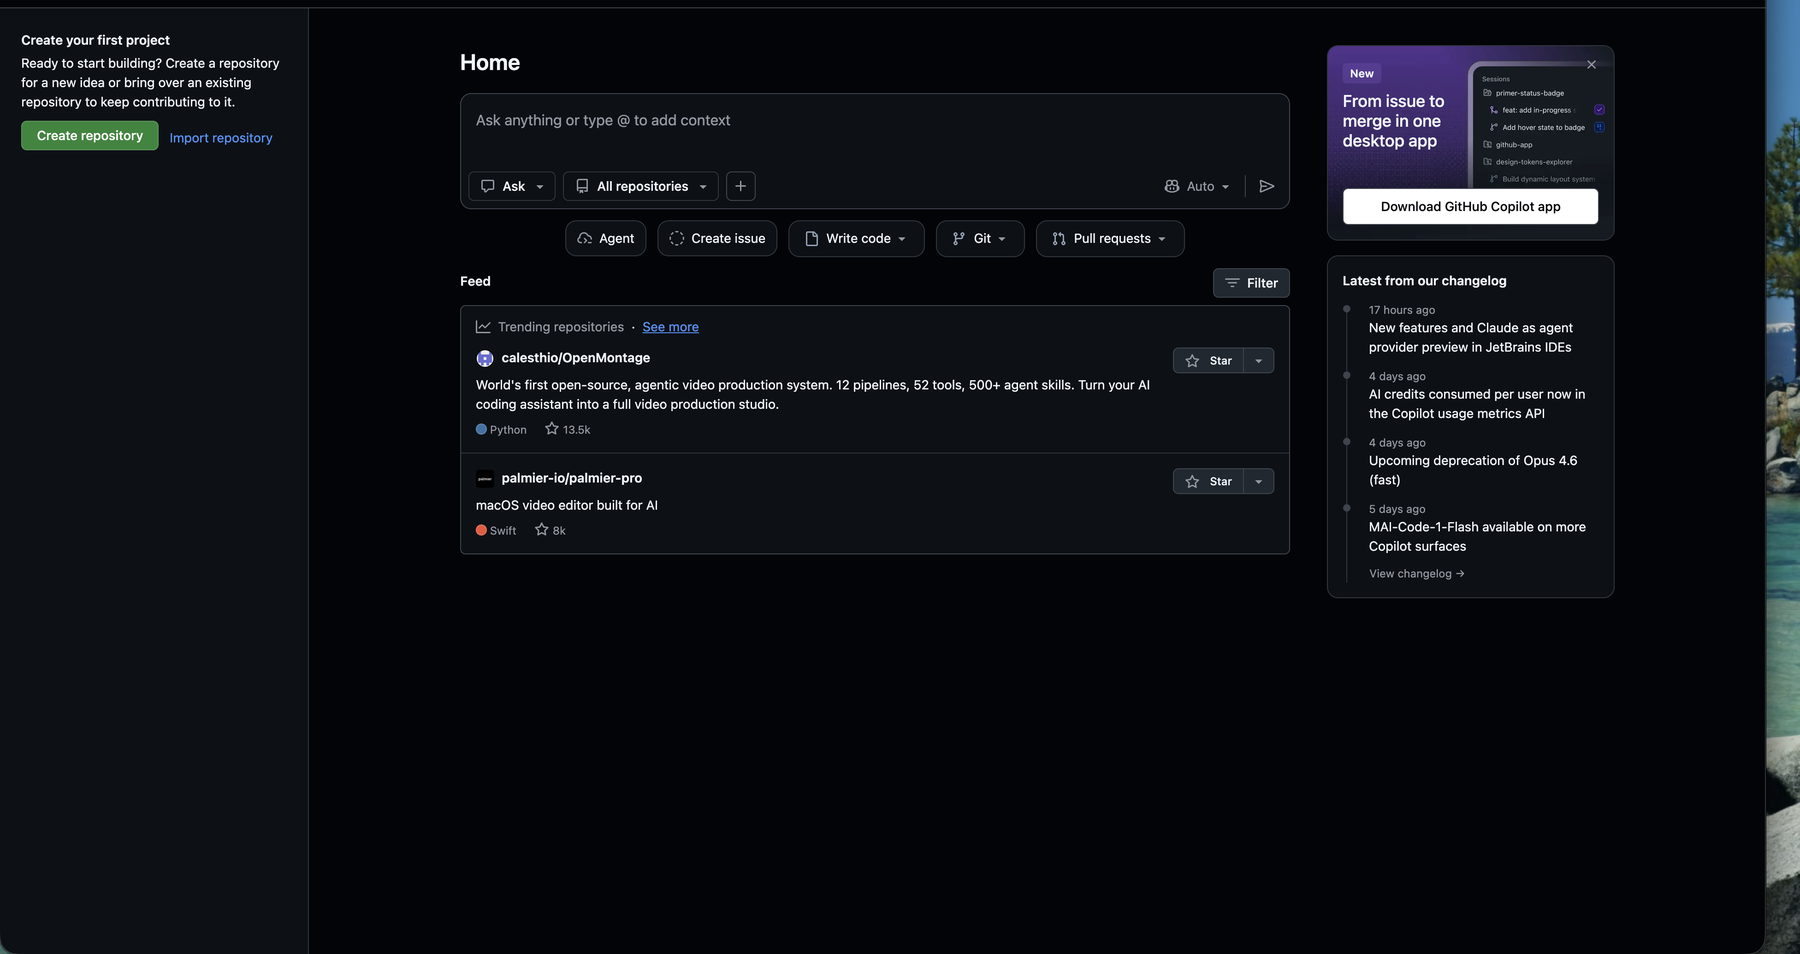
Once verified, you’re logged in and see your Dashboard: “Create your first project” on the left, your activity feed in the middle. This is the starting point for everything you’ll do next.
Get to know the account menu (top-right)
Clicking your avatar in the top-right opens the account menu — the place you’ll come back to most:
- Your repositories: every project you create.
- Settings: account settings (change password, set up SSH/tokens, enable two-factor — all here).
- Sign out: log out.
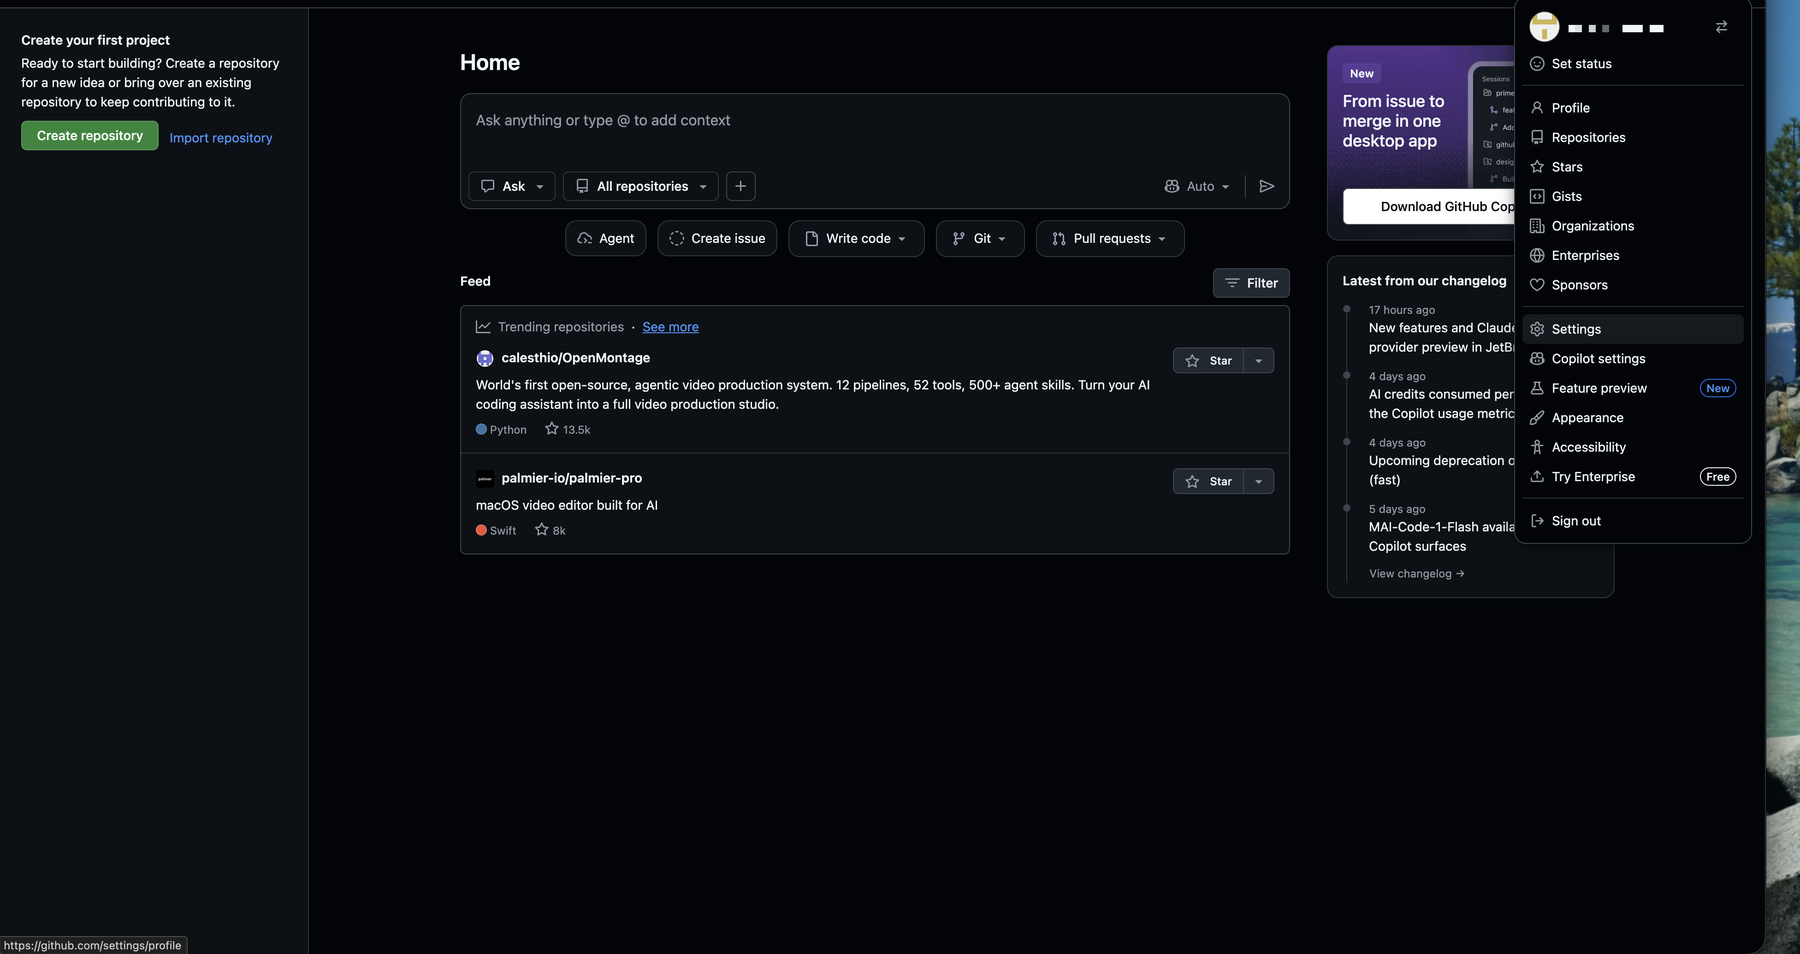
💡 When a later tutorial says “go to Settings” or “in your repository,” the entry point is this menu.
Recap
- Both paths start at github.com → Sign up.
- Fastest: click Continue with Google → pick your Google account → Continue to authorize. One click, no password to set.
- Or fill in your email / password / globally unique Username manually.
- Either way, GitHub emails a verification code; enter it in Device Verification Code. No email? Check spam, then re-send.
- After login you see the Dashboard; the avatar menu in the top-right leads to Your repositories and Settings.
Next: put your first website online
Now that you have a GitHub account, the most satisfying first thing to do is deploy a website for free. Read on 👉 Deploy a static site / PWA to GitHub Pages — from creating a repo to going live automatically.
這篇文章對你有幫助嗎?
💬 問答區
卡關了?直接在這裡問,其他讀者和作者都能幫忙解答。
載入中...
Found this useful? Share it with a friend who’s also getting their hands dirty
Share on LINE